
Week 7&8: MAYA Practice
- Testing and technical workflow
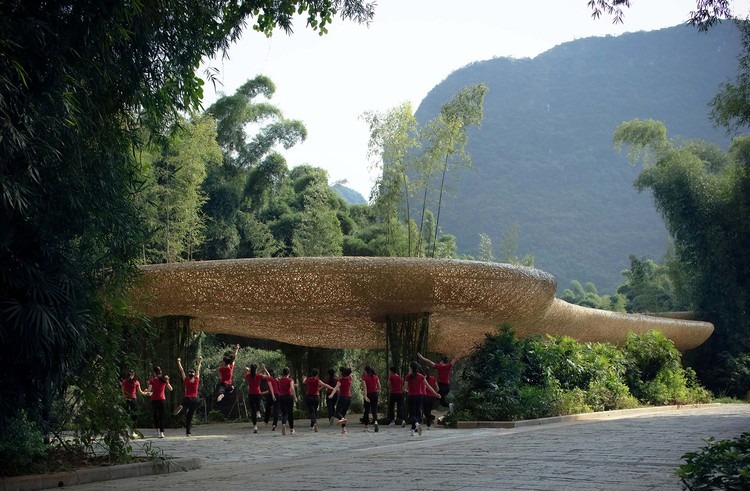
I have some experiments with sphere shape from week 5-7. I was inspired by this pavilion in China because of its cursive shape and bamboo material which response to my ideas and site research.
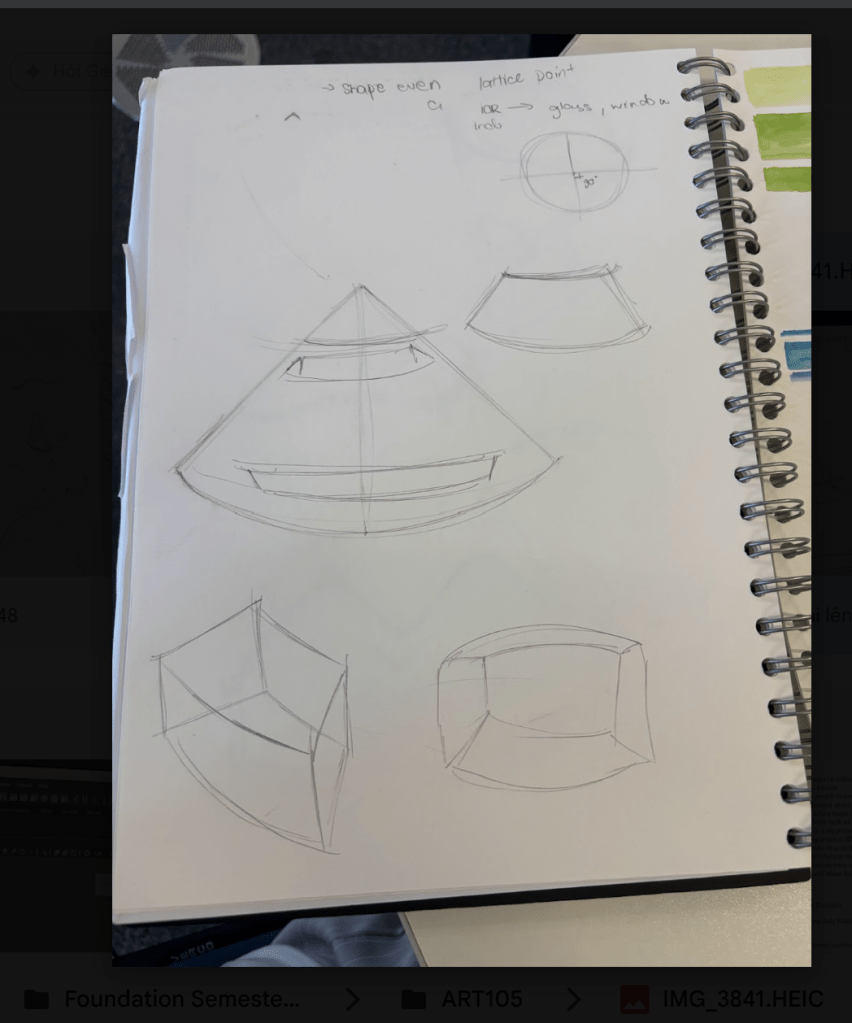
My sketches:
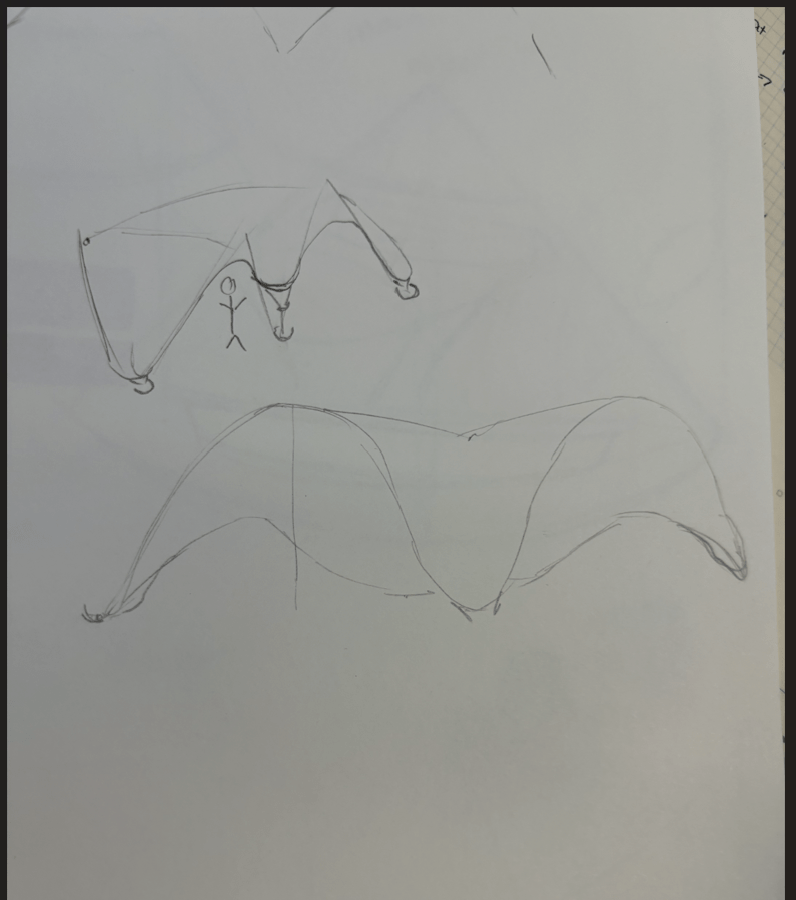
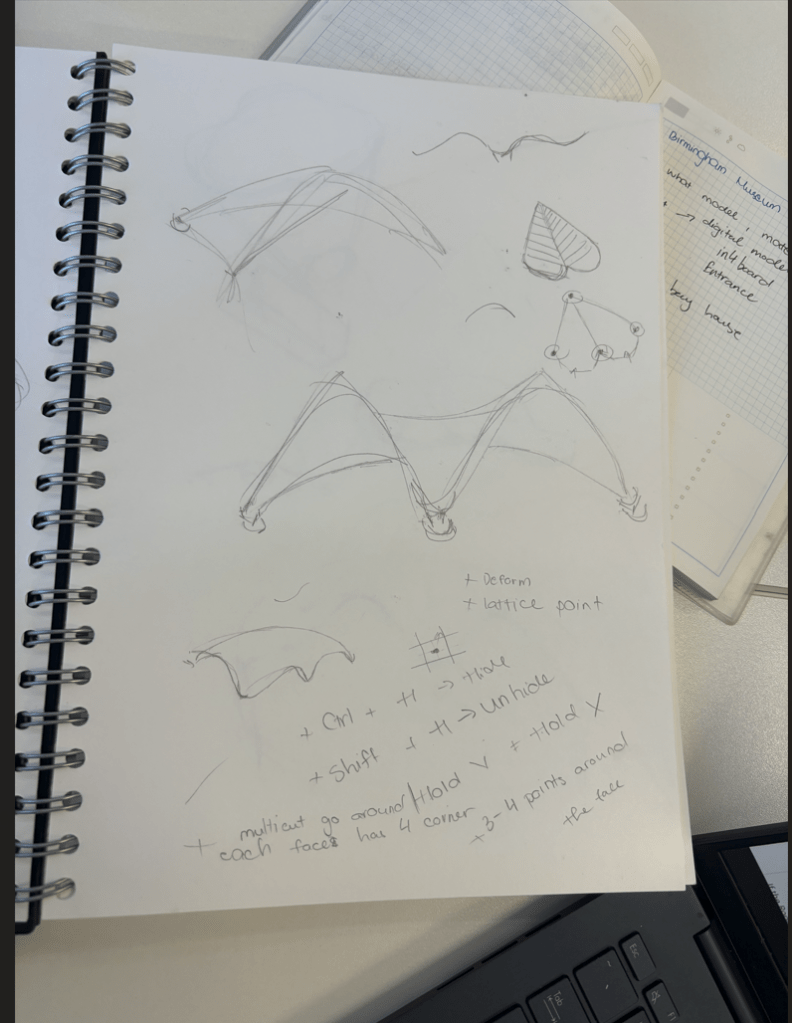
Maya practice:
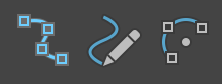
At the first, we using the curves tools to create the heart surface under the object in the image below.There are 3 tools to create curve shapes in different ways. the first one is curve tool which allows to add points on the surface to create curve line. Then is pencil tool which work as same as a pencil, I have to use mouse to “draw” curve line then is the 3 points tools which help make curve line but it makes more circle.
I used the curve tool to created a half of the shape then duplicated it and connected them together (attach curves tool) then I got the curve shape as the shape next to the object.
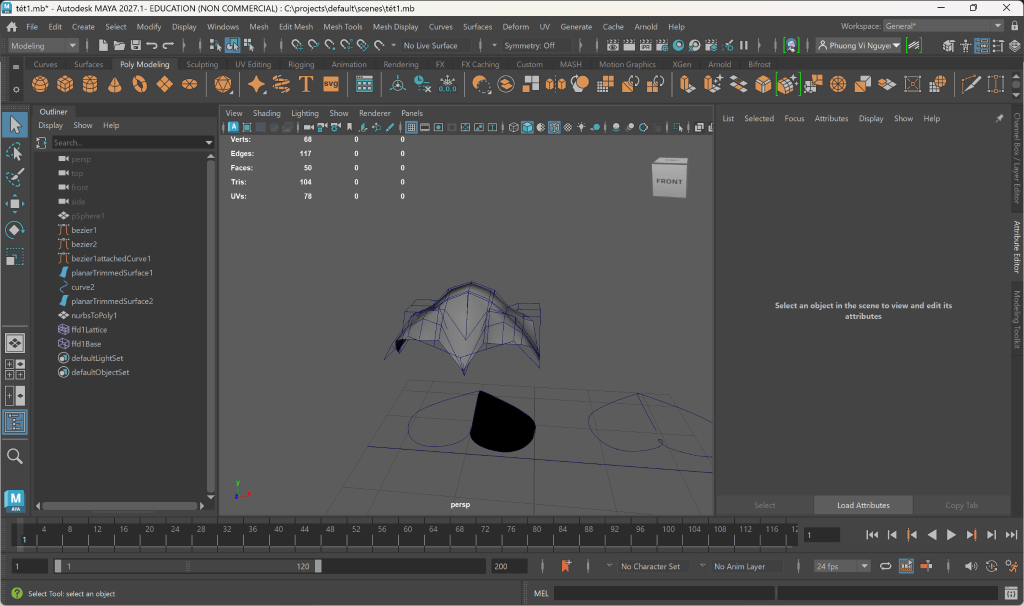
to create this I watched https://youtu.be/jOq0H1V3mSE?si=DOY6Iz1FnnZP2Cpf from 2:13-3:50 to understand and apply lattice points for the object and also control points.
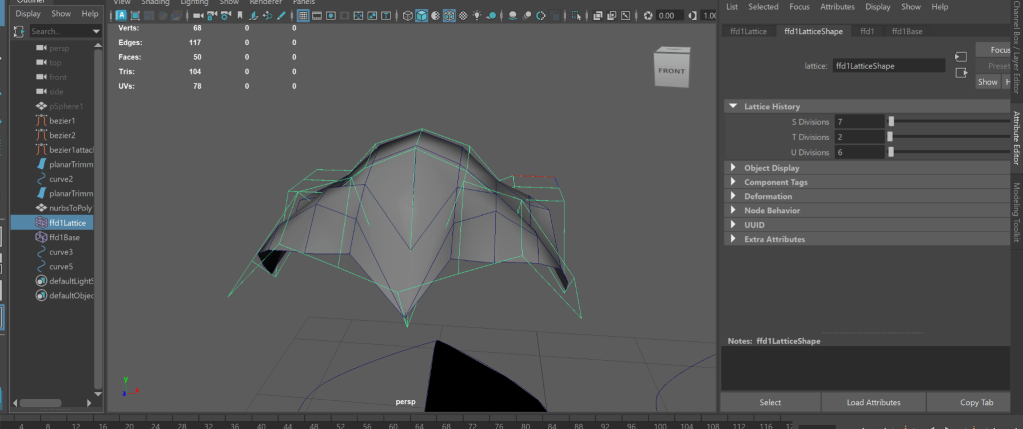
Adjusting Resolution (Lattice Divisions): By default, the Lattice may not have enough segments for detailed control. The author in the video directs the user to the Lattice Shape attributes to modify the division settings. Here, I changed to 7;2;6.
The purpose of increasing grid density: Increasing the number of segments provides more control points on the lattice surface. This allows you to make localized adjustments to specific areas of the model without distorting the rest of the object.
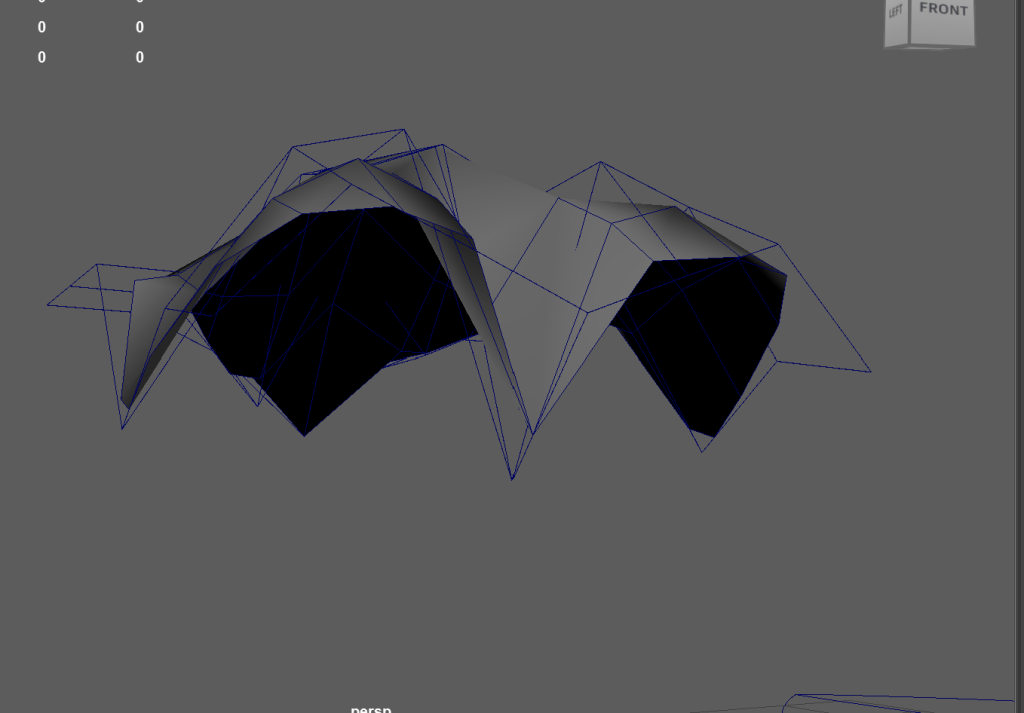
However, this design did not optimize the interior space, so I decided to split it in two. The reason it was not optimal was that the central section dipped down, making it difficult to figure out a logical layout for the benches inside.
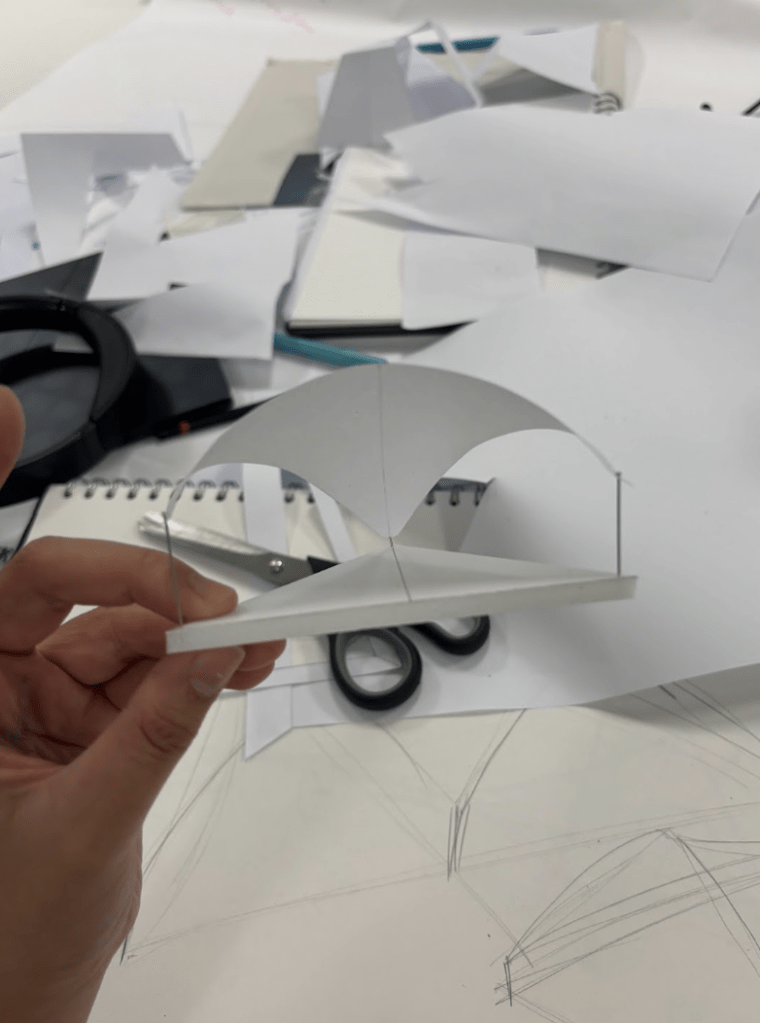
Then I came up with this design which makes it easier for me to place benches inside.
Maya practical:
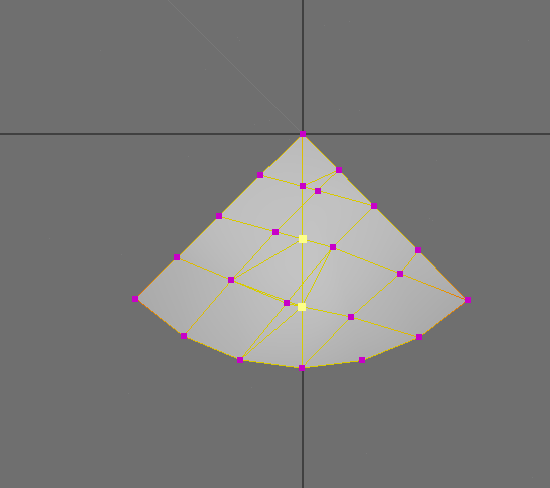
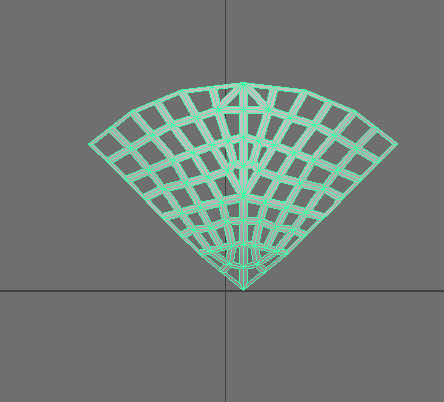
I created a circle but I just used ¼ part of it, after that I created more edges in the middle of the shape.
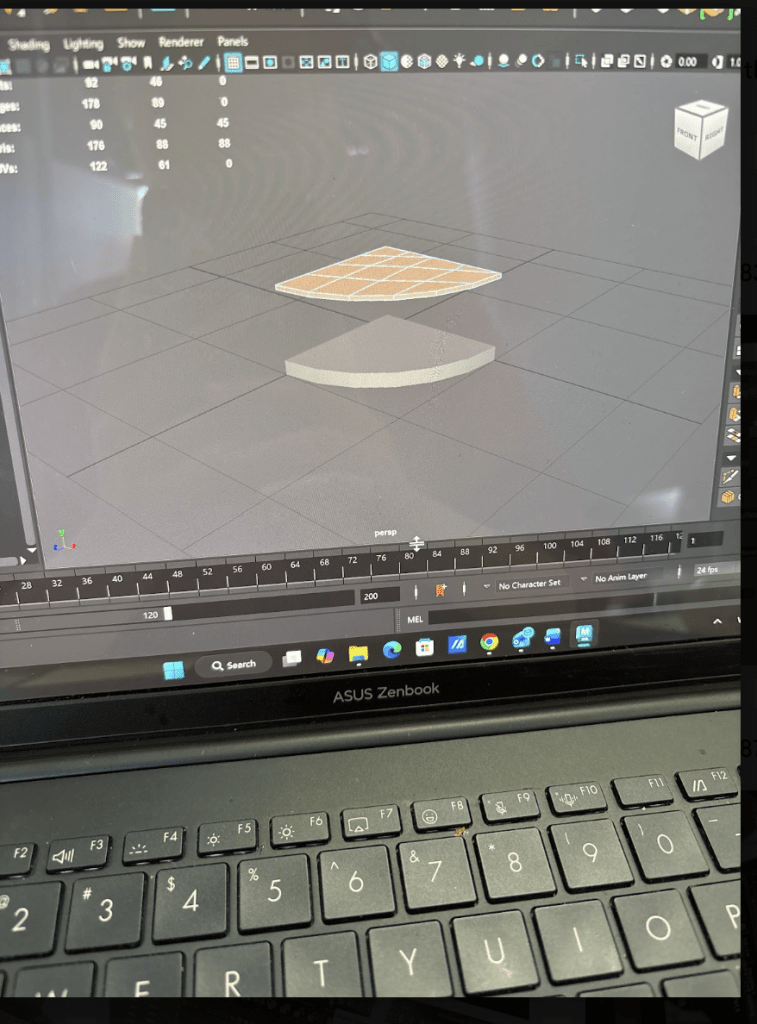
To choose these points (yellow points), I switched to vertex mode. After that, I used Move tool to control
the shape of it. This way is way easier than using lattice points but I think just for simple object with complex objects, I think Lattice points help control focus points better.
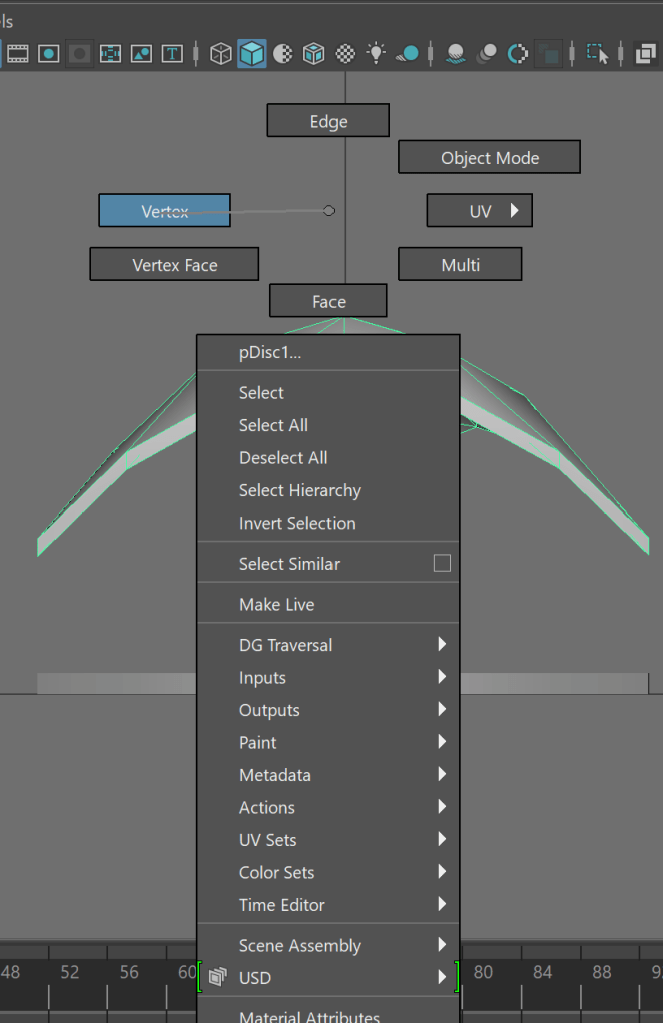
Video: https://youtu.be/ckdMtR-773E?si=BYRlOrdqzgTjvemX
However, because I did not choose even points, It made it hard to apply the material for the object, according to the video. I want the object looks like this (has holes)
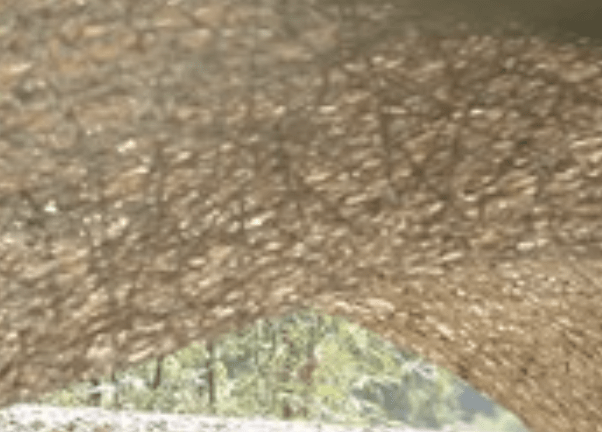
I have to have an object with edges likes this

Use the Insert Edge Loop tool to add grid lines, then use the Quick Selection Set feature to save and quickly select the needed edge areas. Use the Poke tool in Edit Mesh to change the orientation of the edges, helping to create a distinctive mesh structure for the holes.
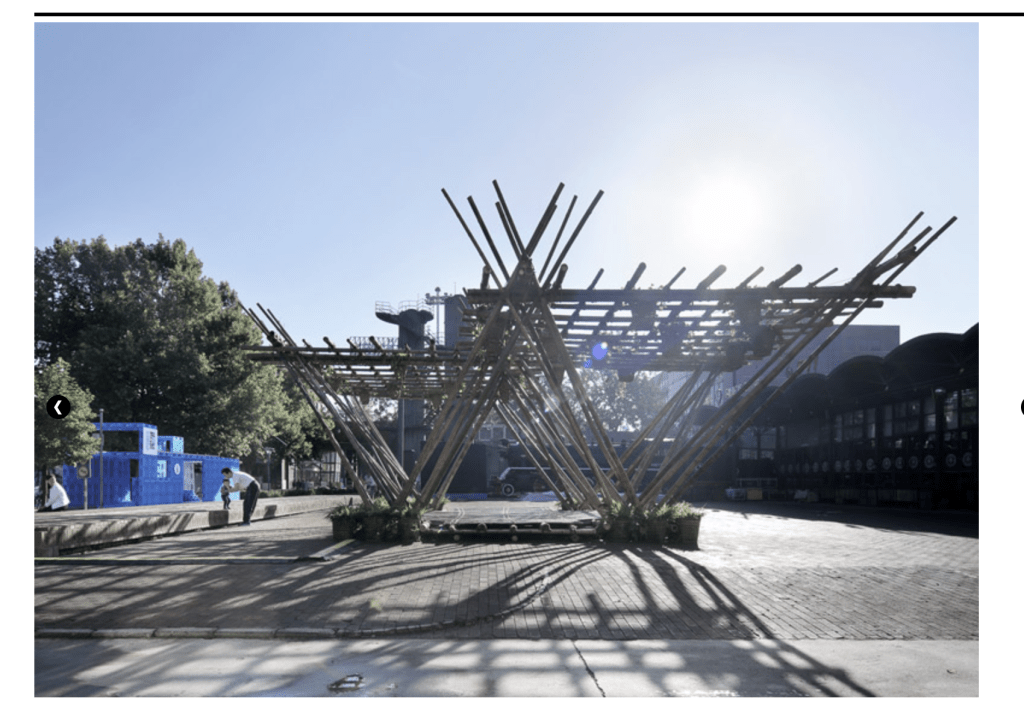
In week 8: I was inspired by these designs which related more to the indochina style and vietnamese culture. It also include the truss structure which I learnt from Art104.
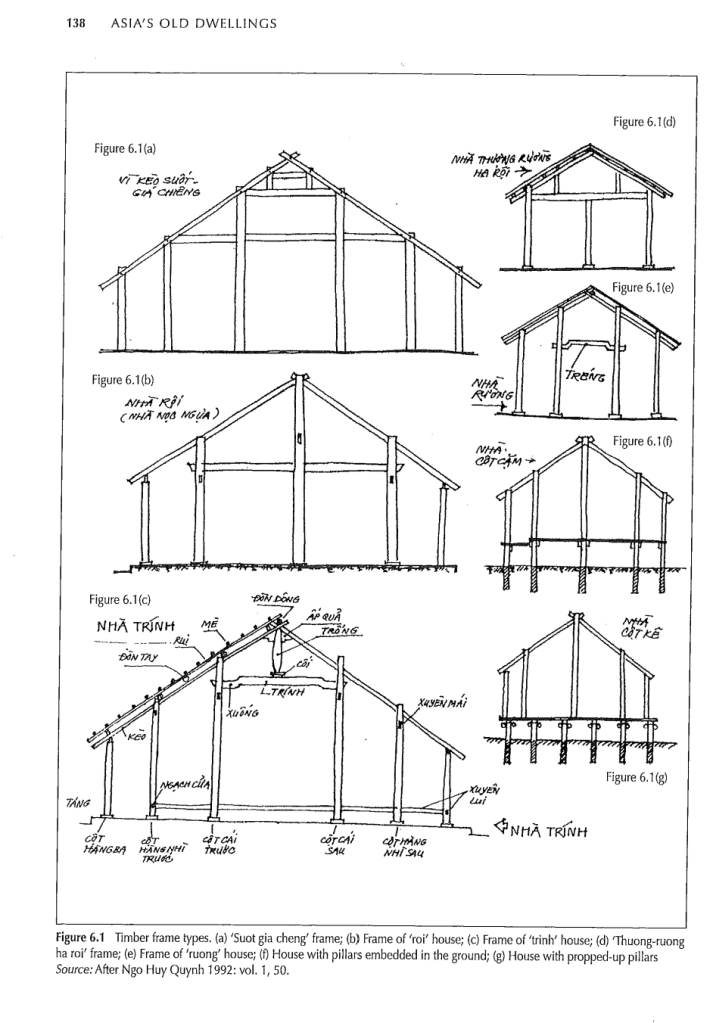
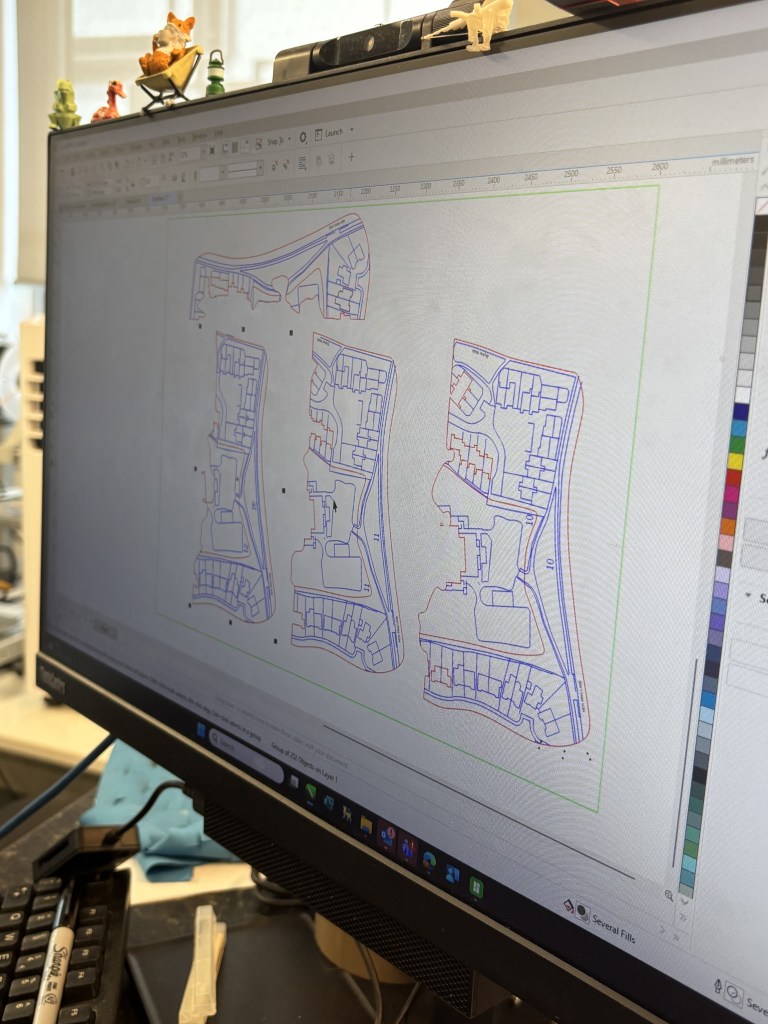
I want to do laser cutting but the tutor said I need to make my file as the images to cut.
The red line is for cutting so the machine can identify it to cut.
The blue line is for making mark so the machine can identify not to cut it.

